Create and Manage Users
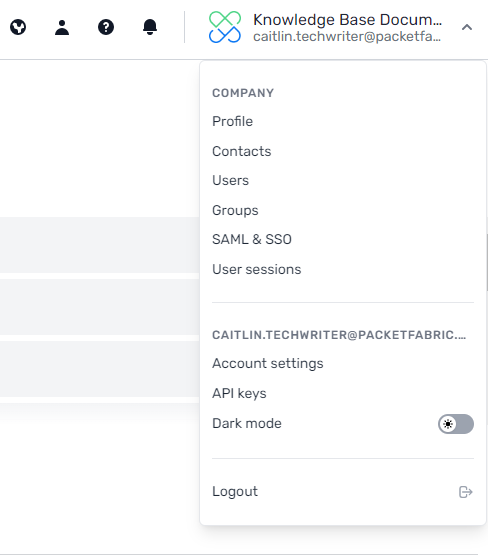
Depending on your user permissions, you can access administrative information by clicking your company name in the upper right of the portal.
Select Users to view and manage user accounts.
Add a user
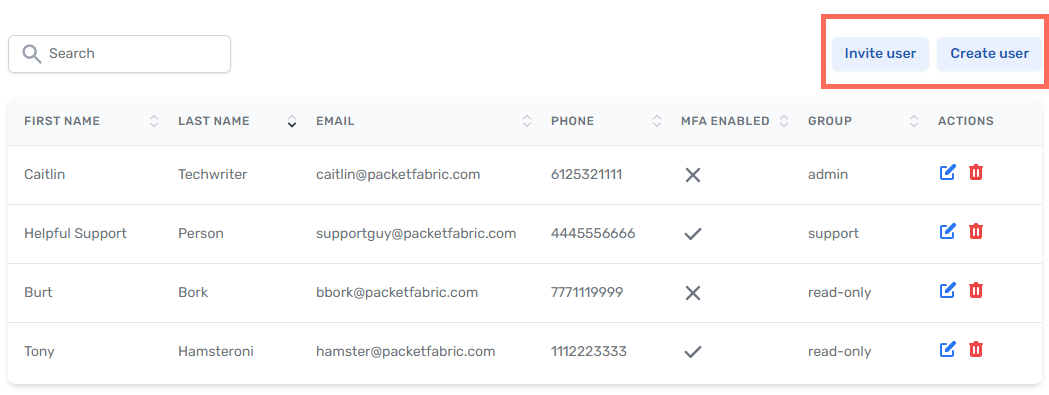
Invite user
When you select this option, the user sets up their own password and contact information.
Enter an email address and select one of the following groups:
-
Header row
- Group Name
- Description
-
Row 1
- Admin
- Can perform any action, including those involving user access.
-
Row 2
- Regular
- Can add, remove, or change any product service.
-
Row 2
- Read-Only
- Can view all services and download documents and invoices, but cannot make any changes.
-
Row 2
- Support
- Can perform troubleshooting actions, but cannot perform any action that has a financial impact (creating, upgrading, or deleting services) or view any financial information such as billing accounts. .
-
Row 2
-
Sales
-
This group is only available in the Partners portal.
Has read-only permissions except on the Quoting page, where they can create and manage customer quotes.
-
When you are finished, click Invite Users. The user receives an email with a link to create their account.
Pending invites
To view the status of previously sent invites, click Pending Invites at the top of the page.
-
Header row
- Column
- Value
-
Row 1
-
Signup Completed
-
This value corresponds to the unique signup link sent in the invite email.
Once the user clicks the link and completes the signup form, this value is
true(shown as a checkmark).If you send multiple invites to one user, only the link they used to sign up shows
true. All other invites remain in thefalsestate.
-
-
Row 2
- User Created
- This value corresponds to whether the user exists in the system, regardless of whether they signed up through the invite link or whether they were manually added.
Most of the time, both columns show the same value (false/false, true/true).
However, if you send multiple invites to a single email address, only the one that the person used to sign up shows true under Signup Completed. Once that user account is created, the User Created column shows true for all invites tied to that specific email address.
You will also see a discrepancy if you invite a user and then also add that user via the Create user action.
Create user
This action is only available to Admin users.
When you select this option, you are asked to provide user details and a password. The user does not receive an email notification.
Complete their user details (all fields are required) and select one of the following groups:
-
Header row
- Group Name
- Description
-
Row 1
- Admin
- Can perform any action, including those involving user access.
-
Row 2
- Regular
- Can add, remove, or change any product service.
-
Row 2
- Read-Only
- Can view all services and download documents and invoices, but cannot make any changes.
-
Row 2
- Support
- Can perform troubleshooting actions, but cannot perform any action that has a financial impact (creating, upgrading, or deleting services) or view any financial information such as billing accounts. .
-
Row 2
-
Sales
-
This group is only available in the Partners portal.
Has read-only permissions except on the Quoting page, where they can create and manage customer quotes.
-
Manage users
Admin users have access to the edit and delete actions in the Users table:
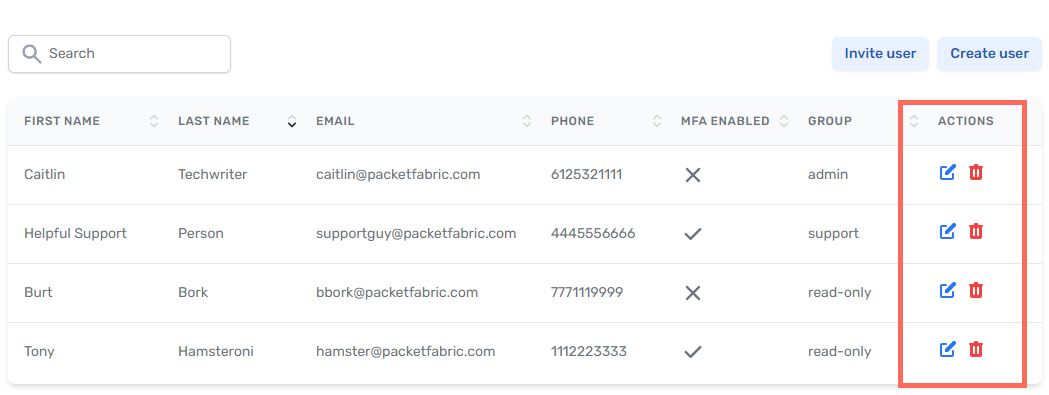
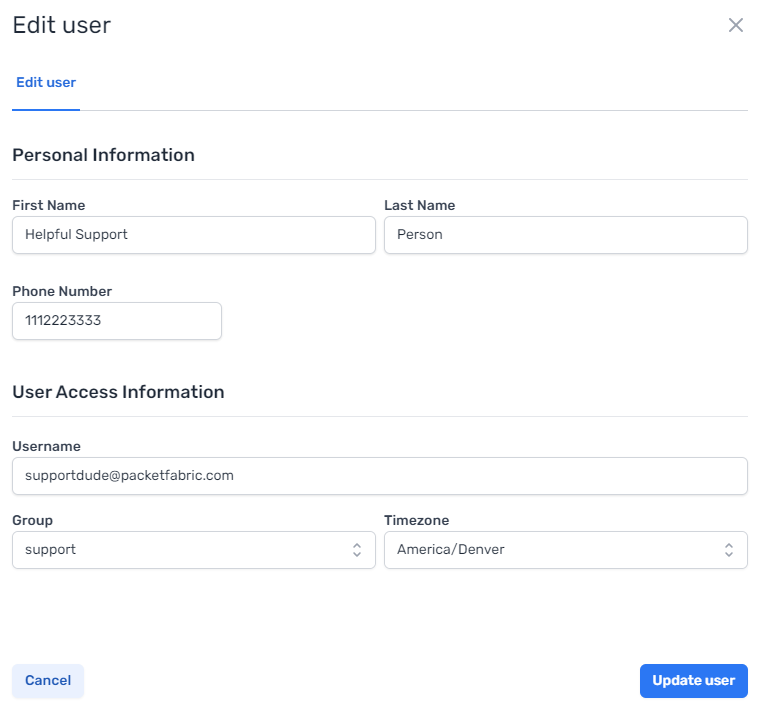
Edit a user
Use the edit action to update user information, including username.
Delete a user
Click the delete icon. You are prompted to confirm.
IMPORTANT: To preserve logs, removed users are not deleted from the database.
This means that once removed, a user cannot easily be re-created as a new user. If you would like to re-create a previously removed user, you can contact PacketFabric support.